Cover Design–How to DIY Your Cover

In my last blog, I suggested that getting a professional illustrator or buying a ready-made book cover is the way to go for most writers. Purchasing a cover, you like and fits with your genre, can be easy and time effective and doesn’t cost too much.
If you can work with a graphic designer or illustrator, it will cost more but may be worth the money to get a cover that attracts readers and markets your book. A good illustrator can provide images of your characters and this may be super important if you have imaginary beasts and extra-terrestrials you want to introduce to your readers visually.
I wanted a book cover that used my original artwork and reflected the Regency era as well as the genre. I looked at many websites offering pre-made covers and couldn’t find a template that was anywhere close to what I wanted.
I played in Canva and Microsoft Word and came up with a few ideas but found the process time consuming and sometimes frustrating. I also don’t have the technical skills to get the quality of the image right. To purchase programs like Photoshop is expensive and just wasn’t worth it for a few covers. So, I have now engaged a graphic designer to help me achieve the cover I envisage.
However, if you want to try to do your own cover design and have the time to play, I will provide some basic exercises that will lead you in the right direction.
Working in Microsoft Word
The word program is not an easy option but is doable if you have the time and energy to fiddle. It does often mean that you will disappear down a rabbit hole and emerge much later with a cover design, or not.
Step 1: Open a blank document. (Go to your tool bar and select “File”, then select “Blank Document) Choose custom size that best suits your book size.

Step 2: Select “Layout” in your tool bar and put in some margins that reflect the size of the cover you want. I suggest a standard size such as 15cm x 23cm (6 x 9 inches) You can decide on your own margins by clicking the arrow besides the margins diagram and scrolling down to custom margins and then setting the margins to best suit your cover size.

Step 3: Click your mouse on “Insert” in tool bar and select “Pictures” using the downward arrow. You can select an image from online, stock photos, pictures from a file or from your photos. Please be aware that you must check if the image used is copyrighted. I select photos from Creative Commons. http://creativecommons.org.au/learn/licences/. You can also buy images from places like Shutterstock, Pinterest and many other places. Just Google Photo Images to buy, or similar. It is worth looking up the terms and conditions of Creative Commons licences and how to attribute an image used.
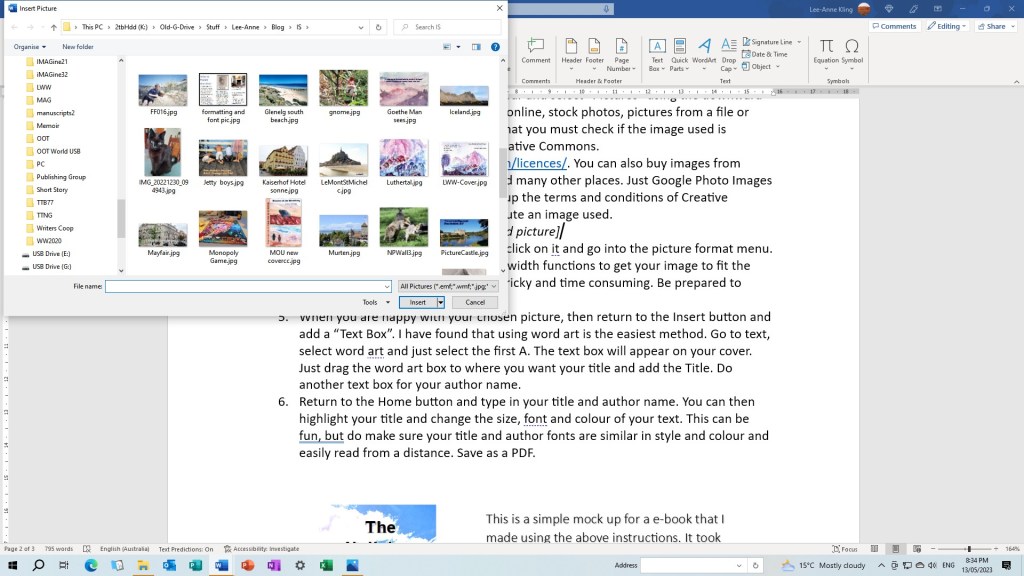
Step 4: Once you have selected your image, click on it and go into the picture format menu. You can use the crop and height and width functions to get your image to fit the size of your front cover. This can be tricky and time consuming. Be prepared to experiment and learn as you go.

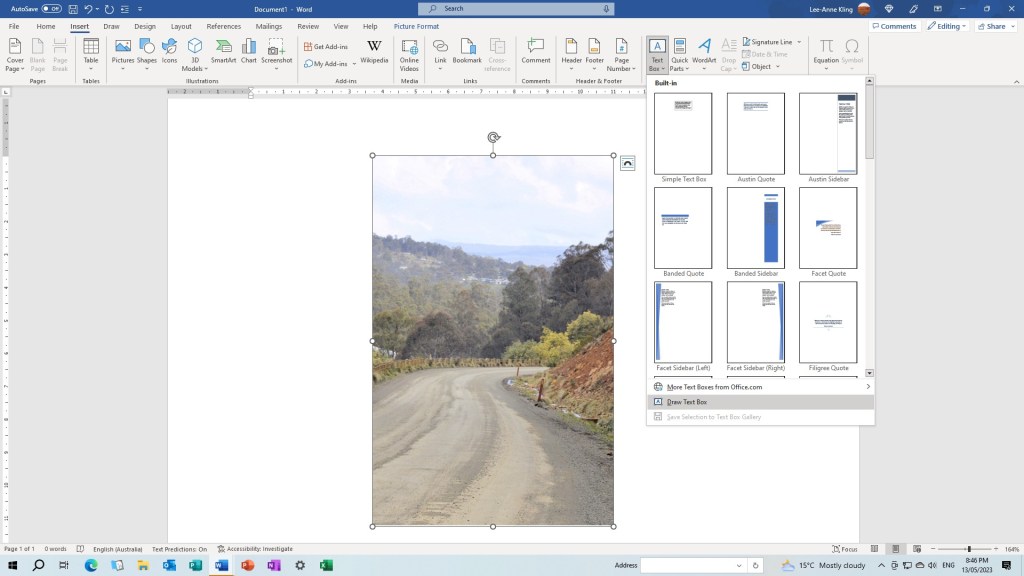
Step 5: When you are happy with your chosen picture, then return to the Insert button and add a “Text Box”. I have found that using word art is the easiest method. Go to text, select word art and just select the first A. The text box will appear on your cover. Just drag the word art box to where you want your title and add the Title. Do another text box for your author name.
Step 6: Return to the Home button and type in your title and author name. You can then highlight your title and change the size, font and colour of your text. This can be fun, but do make sure your title and author fonts are similar in style and colour and easily read from a distance. Save as a PDF.
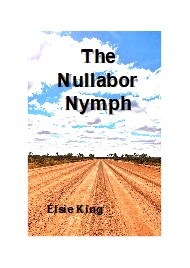
This is a simple mockup for an e-book that I made using the above instructions. It took several hours to complete. There are a host of videos on You Tube which give more detailed instructions that I would recommend you look at. To complete a paperback cover with a back cover and spine you will need to do further research.
There are many programs on YouTube that will demonstrate a more sophisticated, and possibly easier ways of designing a book cover. Good luck, I’m going to a professional.
Elsie King ©2023
Image: Attribution by Creative Commons.
